In recent years, capture computer screen has become one of the most favorite part of screencast video, elearning lessons, online training videos as well as product demonstration and services for a marketing campaign, promotion campaign..etc.
All you need to do is following these steps:
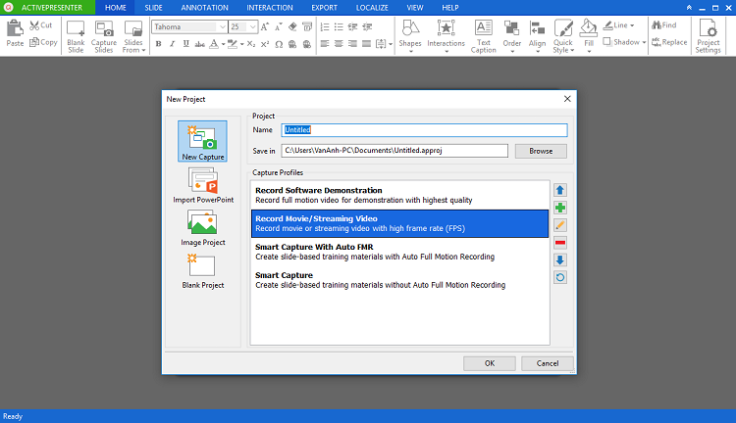
- Download and install ActivePresenter.
- Start recording procedure from user interface.
- Start editing recorded videos.
Key features in ActivePresenter free version that work on both Windows and Mac OS
Customized pre-recording settings
- Capture Area – Setting up your desire recording area or full screen.
- Screen resolution – Depend on the tool, you will have wide range of choices here. At least, you will need very basic resolution such as 400×300, 800×600 or 1600×900. It would be great if you have 720p HD or 1080p Full HD feature.
- Audio input – Give you possibility to choose external device (a microphone) or none.
- Video format – Choosing desire file types as well as video quality.
- Storage location – Allow you to select correct place to store your videos/ project.
- Mouse cursor record: It is also common that you can set up to record mouse cursor or not.
- Hot key setting: Basically you only need to have functional key to Start/ stop the program. It should be enough.
Screen recording functions
- Start recording notification – Whenever it start to record your screen, there must be a notification so that you know you are ON.
- Pause recording: You may feel thirsty after a while continuous speaking. Break time is always important, right?
- Stop recording – By mouse click or hot key.
What will you get if you decide to purchase Paid version?
Check out product description and comparison table on standard vs professional version of ActivePresenter here.
Good luck!

Leave a comment