Capture screen on Windows PC – Take screenshot on Windows. Record screen on Windows!
As a windows user, you might need to capture your screen to show your friends or colleagues to describe about a product, service or simply showing a bugs in a software or something like that. The most popular way is to use Windows built-in screenshot tool which you can just press CLT+ Prtscr on your key board. The other ways are capturing windows screen by a screen recorder.
There are many screen recorders you can use to capture screen on windows PC. However, there are still many free tools that are very easy to use like ActivePresenter, icream free screen recorder or OBS studio free recorder.
In today post, I will show you how to capture screen on Windows PC step by step, using these most easy-to-use free screen recorder with tutorial video to follow.
1. Capturing screen on Windows PC by ActivePresenter
Step 1: Download and install ActivePresenter on your computer.
Go to download page on the above link and choose download package for you. ActivePresenter is available both on Windows and MacOS. The download size is only 23Mb. You need to wait few minute before starting to install it.
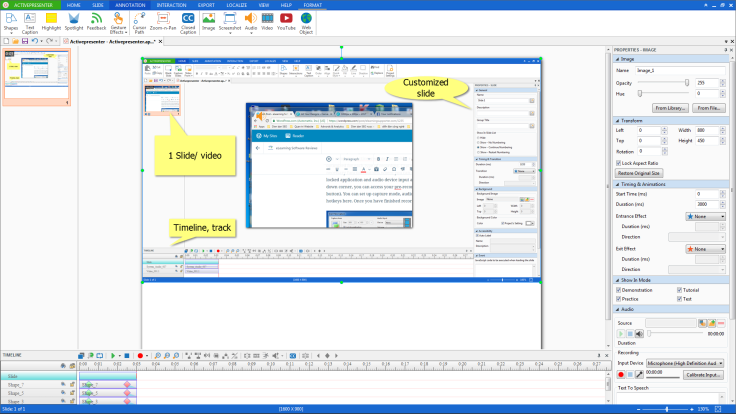
Step 2: Open ActivePresenter -> New Capture-> choose one of 4 capturing mode like showing at below picture
Step 3: Once you finished your capture, ActivePresenter will show you an editing windows for annotating the video. If you don’t want to add anything, click Export file on tool bar. You have successfully capture your windows screen and it is ready to share with others.
How to capture screen in ActivePresenter tutorial video
2. How to capture screen and take screenshot in Icecream free screen recorder
Step 1: Download and install Icecream free screen recorder on your computer.
Step 2: Choose Capture Video or Screenshot on the interface.
after selecting capturing mode, remember to go to Setting to set up file location as well as output format type. Icecream free screen recorder is much more simple than ActivePresenter but it does not allow users to edit the videos or pictures. You need to annotate on the screen while capturing. Icecream free screen recorder can work on both Windows and MacOS. It allows capturing video up to 10 minutes without leaving watermark.
Learn how to capture windows screen from this tutorial video.
Final words
It is really easy to capture your Windows, MacOS desktop screen with ActivePresenter and Icecream free screen recorder. I hope this tutorial can help. Feel free to ask if you have any question.
More information about these tools
Good luck!


Leave a comment