This article covers some simple steps to create a how-to video for YouTube. You can also use the same tips to create video for other video sharing channel such as Facebook, Twitter, Twitch, Vimeo or Dailymotion. I can’t guarantee that you can get millions of hits views if you follow all these simple steps. But, I am sure it will helps you improve the quality of you video and engage the audience in your community.
I found this video interesting, especially his thoughts at the end of the video “Make YouTube videos because you enjoy making them. If you don’t enjoy making them, you’re not going to make them”. If you’re going to create a video like this, you don’t need any kind of tip and trick, just sit in front of your camera and speak!
Okay! No more extra words, let’s get started with my tips!
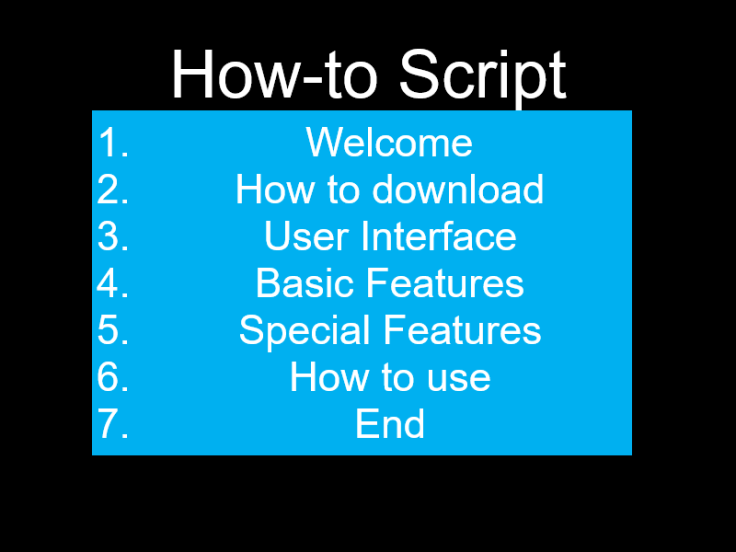
1. Script
The very first step in making a how-to video is, of course, to write a script of what you’re going to talk about. This script will give you an idea of what need to be prepared such as which kind of equipment you need and what kind of editing software to use and so on. I understand that there are many content creators can talk about a topic without any script during their videos. However, that’s not what a beginner should follow. Keep in mind that, you don’t need to write your script like an essay, just make it well organized, as simple as possible.
2. Equipment
Depending on what kind of how-to video you’re going to produce, you will need some special equipment such as a professional camera (DSLR), a tripod, Gimbal or a special microphone. These kind of stuff are just basic gears for making YouTube video. Of course, you also need a high-end computer/ laptop to edit the video before uploading.
However, keep in mind that people watch your video just because they love your unique content, they don’t really care what equipment you’re using. If you can’t afford all these gears, you can also use your smartphone as an alternative. It’s good enough to create professional-looking how-to videos, if you’re using it the right way.

3. Clear Your Desktop
Before you hit record button, remember to clear you desktop so that your sensitive information are not going to show in the video. You may have seen so many full-screen how-to videos with tons of uncorrelated icon or apps which keep on diverting audience’s attention. A clean desktop, contradictory, would give your work a touch of professionalism and neatness. Therefore, before you get the ball rolling, make sure all the files and sprinkled icons has got cleared up.
4. Deal with ambient sounds
“Ambient noise never stops posing a challenge to instructors. The qualified sound-proof kits may help, but are proven extravagant and somewhat superfluous for the non-professional narrating artists. You can totally sound-proof your room DIY without much expense and effort.
Try blocking out external sound kicking in and dampen the sound within the room. In fact, soft materials will limit the echoes reflecting and make your voice sound more warming. Therefore, pull your curtains down when you record in your room. Another popular hack used is recording in a closet filled with clothes hung up or even in your car. And in case you can afford none of this, just wrap a blanket over your head.
The prerequisites, nonetheless, are always a good mic (not the built-in one), the recording space free from loud noise and speaker’s enunciation.”
5. Edit your footage before uploading it to YouTube
One of the most common mistakes that many content creators often make is to upload right away what they recorded without any further editing work. That makes your how-to video less interesting compare to other well-edited ones. As you know, how-to videos often very boring, especially long and complicated explanation videos. Let’s make it more engaging by adding some funny images or sound effects between your video sections for example. That’s not to mention about adding your company watermark (logo) to the video to protect it from being stolen.
When deciding to record and edit video, you’ll definitely need an all-in-one suite that lets you do the work perfectly. Among 20 (or more) tools I reviewed, there are some great programs you can try for your next how-to videos:
- ActivePresenter – This program has a full HD screen recorder with built-in video editor you can try now. It’s is free to download and compatible with Windows 64 bit and macOS. By using ActivePresenter, you can also add texts and callouts to the video too.
- TechSmith Camtasia – This is a great program to create how-to videos, software training and product demonstration videos. Consider to use Camtasia for your next tutorial.
- Movavi Screen Capture Studio – Like Camtasia and ActivePresenter, Movavi screen capture studio also let you record screen, edit video and add text and callouts to the video easily.
These are some simple tips that helps you make better how-to videos. If you like our post, don’t hesitate to share it. Don’t forget to follow us to keep you up-to-date with our latest news. Hope these tips can help you.
Good luck!

Leave a comment