Disclosure: eLearning Supporter may earn a commission when you buy through some links on this page. It does not change how we evaluate products. Details were checked on October 30, 2026 and can change between releases.
The bottom line
Most screen tutorials need fewer effects and better decisions. A sharp cut, clear audio and one helpful pointer can do more for comprehension than a long animated introduction. Here is a realistic workflow for how to edit screen recordings for free, followed by a comparison of three editors with different strengths—and clear warnings about watermark and commercial-use restrictions.
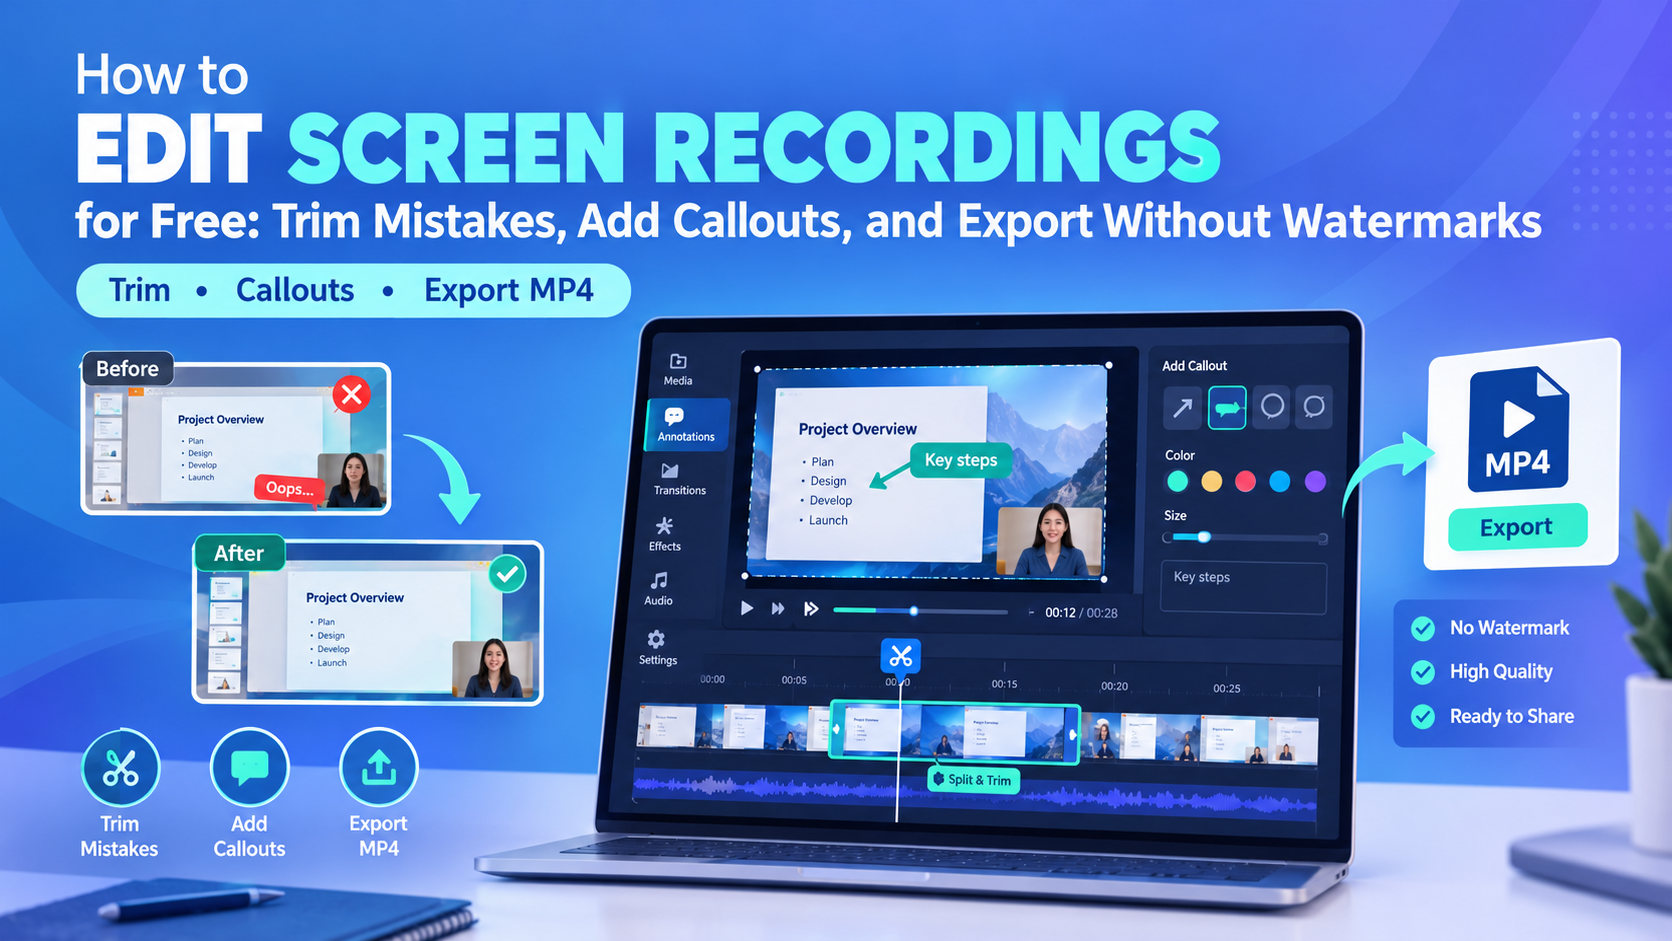
How we compared: workflow fit, feature availability, licensing and the friction a real team faces during production—setup time, how easily an author can repeat a workflow, whether the output plays on the target device and how quickly revisions can be made. “Best fit” is a recommendation for a user situation, not a claim that comparative lab testing was completed. Build a small sample before relying on marketing checkmarks, especially for advanced effects and accessible output.
At-a-glance comparison
| Editor | Best fit | Pricing |
|---|---|---|
| ActivePresenter | Software walkthroughs and courses that may later require quizzes or LMS content | Free edition with defined limitations; paid Standard/Pro perpetual licenses |
| Shotcut | Creators who want a capable general editor and can build annotations manually | Free and open source |
| DaVinci Resolve | Training video teams producing polished series or combining camera and screen footage | Free edition; Studio is a separately priced paid edition |
Step-by-step: how to edit a screen recording
Before you edit: diagnose what actually needs fixing
Watch the recording from beginning to end and mark mistakes, silences, confidential content and difficult-to-see clicks. Keep the unmodified source in a separate folder. Write the final goal in one line—such as “show a new employee how to generate a report in under three minutes.” That goal decides what to cut and which callouts matter.
Step 1: Import the source and choose a project format
Use a project resolution that matches the capture and delivery platform. For example, 1920 × 1080 often keeps desktop interfaces readable, but tiny menu labels may still need a zoom or crop. Check frame rate and audio channels; mismatches can make playback uneven. Save an editable project file and organize sources, music rights, screenshots and version notes.
Step 2: Cut mistakes without losing the instructional sequence
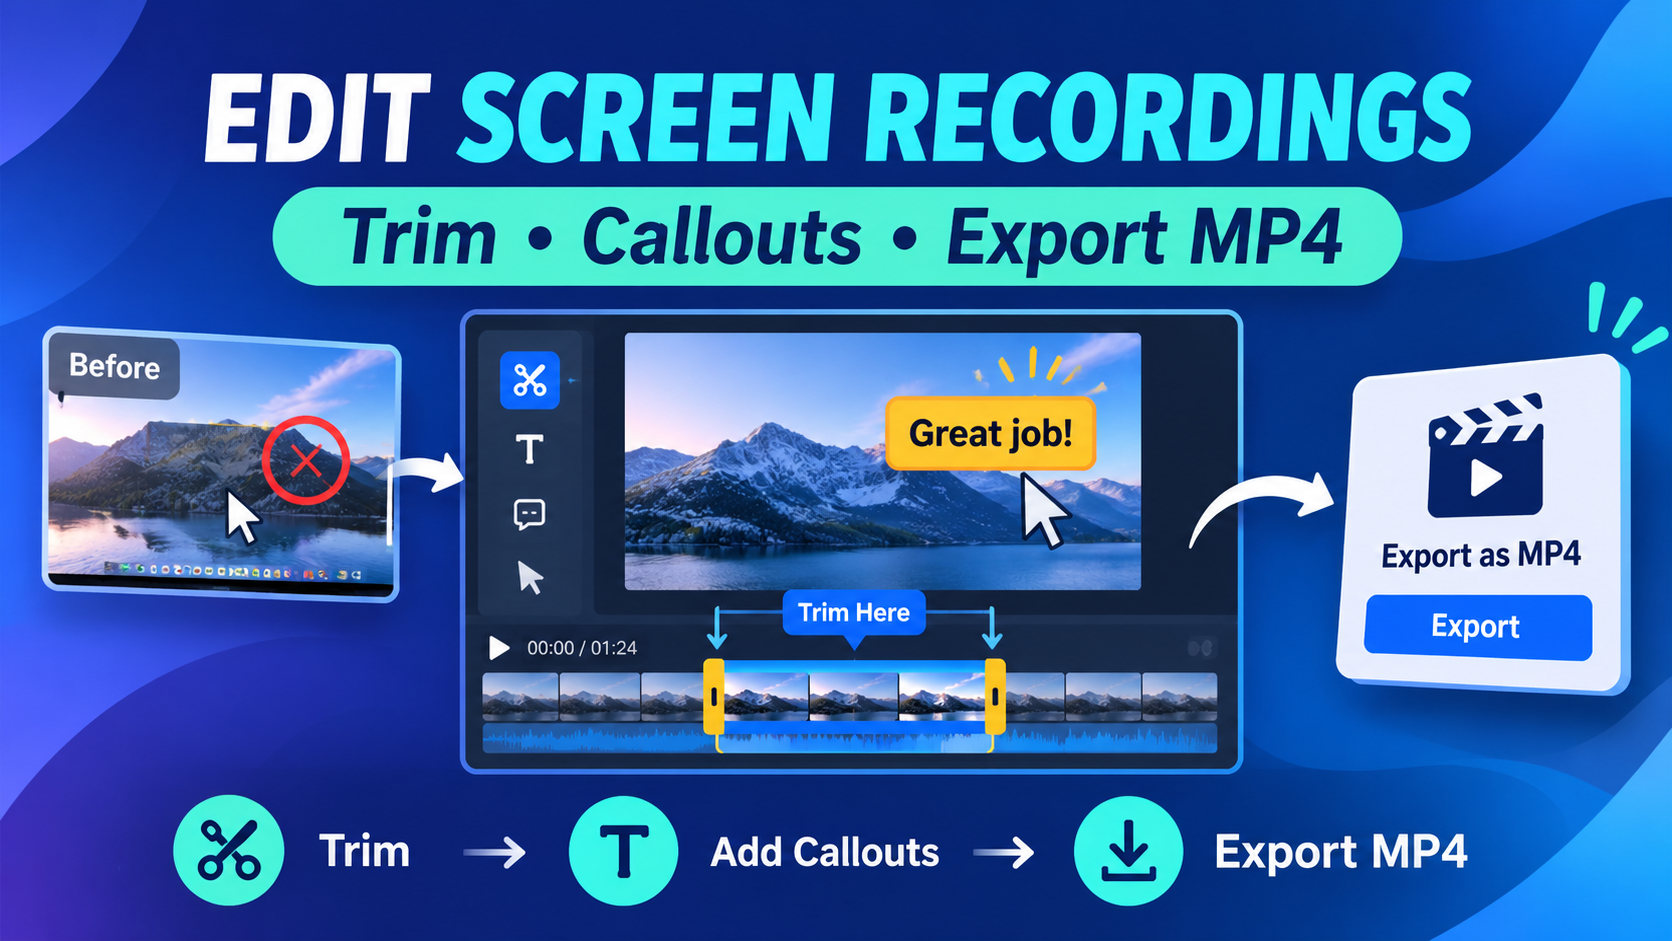
Split just before an incorrect click and again when the correct workflow resumes. Remove the mistake, review the join, and leave enough transition time for the learner to follow the cursor. A cut that removes a dialog opening can make the next step appear magical. If trimming changes the timing of voiceover and captions, realign every dependent track before export.
Step 3: Add callouts, highlights and zooms with restraint
Use a short arrow or outline for a hard-to-find control, not a permanent glowing circle around every click. Explain why the option matters and let the audience see the interface unobscured. Keep annotations on screen long enough to read at normal playback speed, and verify contrast on mobile. A visually impressive effect that is locked behind a paid tier may trigger a watermark; test a 10-second export before building an entire sequence around it.
Step 4: Make narration and captions accessible
Normalize abrupt volume differences manually or with a suitable filter, remove excessive silences, and inspect headphone playback. Captions should represent what the narrator says, including important interface labels, without covering key controls. Don’t assume automated caption output is accurate for product names or technical acronyms. Use a short transcript where multilingual audiences may need translation.
Step 5: Export MP4 and run a real quality check
Export using the destination’s recommended codec and resolution. Reopen the exported file outside the editor and check its first and last seconds, audio sync, font readability, unexpected black frames and watermark presence. Upload a private test to the destination player to check compression and caption handling. A successful export dialog is not evidence that the video meets delivery requirements.
The 3 free editors compared
1. ActivePresenter
Made by Atomi Systems, ActivePresenter lets a screen recording stay in the same project from capture through timeline editing. The interface is geared toward explaining software processes: splitting clips, arranging tracks, adjusting narration and placing visual guidance. Verify which objects belong to the Free versus paid editions before adding effects.
- Pros: integrated capture and training-focused workflow; useful for annotations and course creation.
- Cons: more complex than a basic clip cutter; some objects add watermarks without the proper license.
- Pricing: Free edition has defined limitations; paid Standard/Pro licenses are listed as perpetual, with edition-specific features. See ActivePresenter pricing.
- Best fit: software walkthroughs and courses that may later require quizzes or LMS content.
Check the current price: ActivePresenter Standard · ActivePresenter Pro. (Affiliate links.)
2. Shotcut
Shotcut is a free open-source video editor with a multi-track timeline, filters and broad format support. It can edit existing screen recordings without a proprietary subscription. Use filters, text and crop controls carefully; its broader editing interface is less purpose-built for software training than a specialized tutorial editor.
- Pros: no subscription; flexible editing and format support; broad platform availability.
- Cons: less specialized for guided software practice; its filter and timeline workflows have a learning curve.
- Pricing: free and open source; review the official download and redistribution terms.
- Best fit: creators who want a capable general editor and can build annotations manually.
3. DaVinci Resolve
Blackmagic Design’s DaVinci Resolve offers sophisticated editing, audio, motion graphics and color tools. The free version is compelling for polished educational video, particularly when sound cleanup and post-production matter. However, it can require more hardware and training than a five-minute screen tutorial needs.
- Pros: powerful professional timeline and audio capabilities; strong growth path.
- Cons: steeper interface and hardware requirements; Studio-exclusive features need a paid license.
- Pricing: free edition available; Studio is a separately priced paid edition, with regional pricing to confirm.
- Best fit: training video teams producing polished series or combining camera and screen footage.
Which free screen recording editor should you choose?
Choose ActivePresenter if the tutorial will include repeated software demonstrations or might become an interactive lesson. Choose Shotcut for open-source timeline editing of many existing clips. Choose DaVinci Resolve for a higher-production course series, provided you have the hardware and editing skills. Treat subscriptions, upgrade costs and commercial rights as separate evaluation criteria. For a wider shortlist, see our top 10 video editing software for educators.
Frequently asked questions
Can I remove an editing watermark afterward?
Prefer a tool or edition that legally exports clean footage rather than trying to erase protected marks.
Can I fix a wrong instruction with a cut?
Only if the remaining sequence is still accurate; often rerecording is safer.
Are callouts always free?
No. Feature tiers differ between editors and editions.
Is an MP4 an interactive eLearning course?
No. An MP4 alone does not provide quiz interactions or SCORM runtime tracking.
Final recommendation
Choose the tool that solves the actual publishing problem, not the one with the longest checklist. ActivePresenter suits software walkthroughs and courses that may later need quizzes or LMS content. Shotcut suits creators who want a capable general editor and can build annotations manually. DaVinci Resolve suits training video teams producing polished series or combining camera and screen footage. Start with a sample, verify the exported file, then compare total author effort alongside licensing. For training-centered capture and editing, explore the free video editor for tutorials from Atomi Systems.
👉 Need more than the free edition? Get ActivePresenter Standard for recording and editing, or ActivePresenter Pro if your tutorials will grow into interactive lessons with SCORM output. (Affiliate links: we may earn a commission at no extra cost to you.)


Leave a Reply