Disclosure: eLearning Supporter may earn a commission when you buy through some links on this page. It does not change how we evaluate products. Details were checked on November 4, 2026 and can change between releases.
The Short Answer
To remove background noise from screen recordings, start before you record: move the microphone closer, lower the input gain and kill obvious noise sources like fans and notifications. Then, in editing, apply noise reduction first and normalization second, and listen on headphones. A good AI noise remover can rescue a noisy take, but it works best on audio that was reasonably clean to begin with.
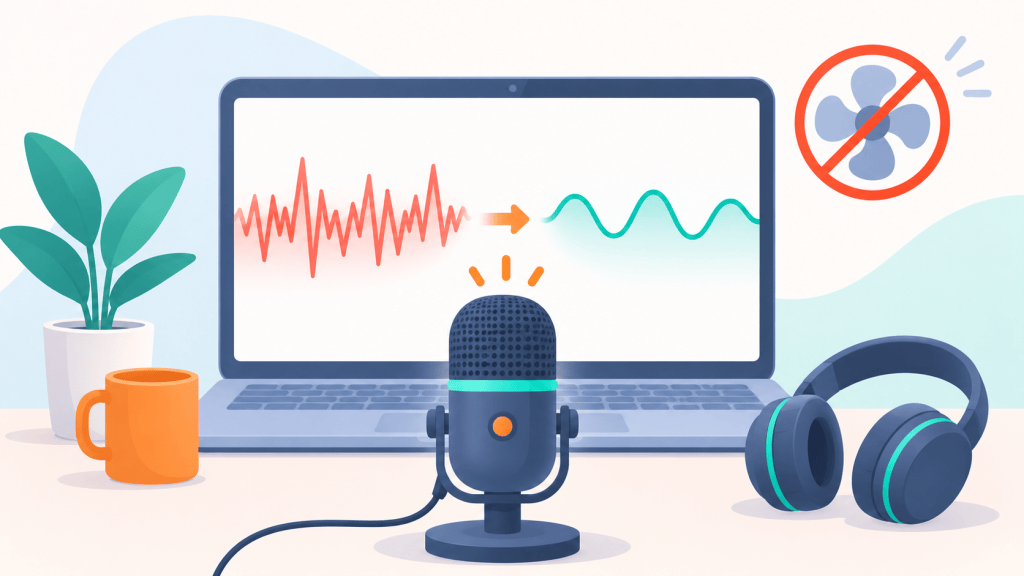
Common Noise Types and What Fixes Them
| Noise | Sounds like | Best fix |
|---|---|---|
| Constant hiss | Soft “shhh” under the voice | Noise reduction in editing |
| Fan or AC hum | Low, steady drone | Turn it off; then noise reduction |
| Room echo | Hollow, “bathroom” voice | Mic closer, soft furnishings |
| Keyboard and mouse clicks | Sharp taps | Mic away from keyboard; cut or lower in editing |
| Uneven volume | Some sentences too quiet | Normalization |
| Music too loud under voice | Narration hard to hear | Audio ducking or lower music track |
Before Recording: Prevent the Noise
The cheapest noise to remove is the noise you never record. Four habits handle most of it.
Get Closer to the Mic
The closer the microphone is to your mouth, the louder your voice is compared with the room. About 10–15 cm (4–6 inches) works for most USB mics. Then you can lower the gain, which reduces hiss and room sound at the same time.
Set the Input Level Properly
Speak at your normal recording volume and watch the meter. Peaks should sit roughly in the upper-middle of the scale and never hit the red. Clipping (distortion from levels that are too high) can’t be fixed later; low levels can be raised.
Tame the Room
Bare walls and desks reflect sound. Curtains, a rug, a bookshelf or even a blanket behind your monitor noticeably reduce echo. Turn off fans and AC for the take, close windows and silence your phone.
Record a Few Seconds of Silence
Stay quiet for three seconds at the start of each take. Some noise-reduction tools use that “room tone” as a noise profile, and it gives you clean space to cut into later.
After Recording: Clean the Audio Step by Step
- Cut the obvious problems: coughs, long silences, chair squeaks.
- Apply noise reduction to the narration track. Start gentle; aggressive settings create a watery, robotic sound.
- Normalize so quiet and loud sections end up at a consistent level.
- Balance music and system sounds under the voice, or use ducking to lower them automatically while you talk.
- Listen on headphones and on laptop speakers before exporting.
Tools for Removing Noise From Screencasts
These four options cover free, one-time and subscription budgets.
Audacity (Free)
Audacity’s classic Noise Reduction effect samples a section of pure background noise and subtracts it from the whole track. It’s free and effective on steady hiss, but you have to export the audio from your video, clean it and re-import it, which adds steps for every tutorial.
ActivePresenter Standard (One-Time License)
ActivePresenter, from Atomi Systems, keeps audio cleanup inside the same project where you record and edit the screencast. Standard and Pro include AI noise removal and audio normalization, and version 10 added audio ducking, which lowers background music while the narrator speaks. You can try the noise tools in the Free edition, but the export will carry a watermark. The limitation: like any automatic cleanup, it can’t fully fix heavy echo or distorted, clipped audio, so prevention still matters.
Check the current price: ActivePresenter Standard · ActivePresenter Pro. (Affiliate links.)
Camtasia Create (Subscription)
Third-party pricing roundups place AI noise removal in Camtasia’s Create plan, listed at about $249 per year. It’s a capable option if your team is already on TechSmith tools, though the cost recurs every year.
Web-Based AI Voice Enhancers
Browser tools that “enhance” speech can make a laptop mic sound surprisingly close to a studio. They’re handy for one-off rescues, but you upload your audio to a third party and re-sync it with the video afterward, which may not suit confidential training content.
| Tool | Cost | Works inside video editor? | Best for |
|---|---|---|---|
| Audacity | Free | No | Occasional cleanup on a budget |
| ActivePresenter Standard | $249 one-time | Yes | Regular tutorial production |
| Camtasia Create | About $249/year | Yes | TechSmith-based teams |
| Web AI enhancers | Varies | No | One-off rescues |
For the rest of the editing process, from trimming mistakes to callouts, see our guide to editing screen recordings for free. If you’re recording lessons at home, this teaching-lesson setup guide covers mic and webcam choices too.
Frequently Asked Questions
Quick answers to common questions about cleaning up screencast audio.
Can I Remove Background Noise From a Video Without Re-Recording?
Yes, for steady noise like hiss and hum. Echo and sudden sounds are much harder to remove; for those, re-recording the narration is often faster.
Should I Record System Audio and My Mic on Separate Tracks?
If your recorder allows it, yes. Separate tracks let you clean the voice without affecting app sounds, and adjust each level independently.
Why Does My Voice Sound Robotic After Noise Reduction?
The reduction is too strong. Lower the amount and accept a little background noise; viewers notice processing artifacts more than faint hiss.
Final Recommendation
Clean screencast audio is 70% preparation and 30% processing. Fix the mic distance, gain and room first. For the processing part, Audacity is a fine free start, and if you publish tutorials regularly, ActivePresenter Standard saves the export-and-re-import shuffle by cleaning audio right on the timeline.
👉 Ready for cleaner narration? Get ActivePresenter Standard for AI noise removal in your screencasts, or ActivePresenter Pro if you also build SCORM courses. (Affiliate links: we may earn a commission at no extra cost to you.)


Leave a Reply