Disclosure: eLearning Supporter may earn a commission when you buy through some links on this page. It does not change how we evaluate products. Details were checked on November 4, 2026 and can change between releases.
The Short Answer
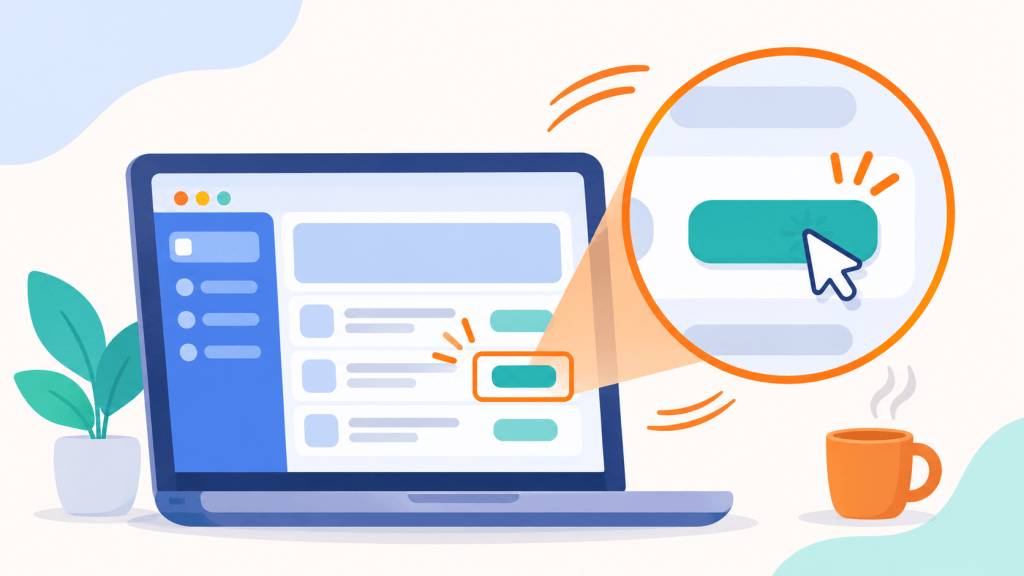
To zoom in on a screen recording, add a zoom-and-pan effect in your editor at the moment the viewer needs to see detail, hold it while the action happens, then zoom back out so they keep their bearings. Keep zooms around 150–200%, make each transition last about half a second, and don’t zoom on every click. Many editors can now add zooms automatically around clicks and typing, which is a huge time-saver for long tutorials.
Why Zooming Matters in Screencasts
A full 1080p desktop shrunk onto a phone screen makes menu text unreadable. More and more tutorial views happen on phones and small laptop windows, so a recording that looks fine on your monitor can be useless to the viewer. Zooming also directs attention: it tells the viewer “look here now,” which is half of good instruction.
Manual vs. Automatic Zoom
| Manual zoom-and-pan | Automatic zoom | |
|---|---|---|
| How it works | You place each zoom on the timeline | Editor detects clicks, typing and scrolling |
| Control | Full | Good; you review and adjust |
| Time | Slow for long videos | Fast; minutes instead of an hour |
| Risk | Forgetting areas | Too many zooms if left unchecked |
| Best for | Short, polished marketing videos | Long tutorials and training series |
Five Rules for Zooms That Help Instead of Distract
Good zooms are almost invisible. These five rules keep them that way.
1. Zoom Before the Action, Not After
Start the zoom a beat before the click so the viewer sees the button before it’s pressed.
2. Stay In When Actions Are Close Together
If three clicks happen in the same dialog, pan between them while zoomed rather than bouncing out and in. Constant zooming in and out is tiring to watch.
3. Zoom Out to Re-Orient
When the action moves to a different part of the screen, show the full view briefly so viewers understand where they are.
4. Keep the Scale Moderate
150–200% is usually enough. Beyond that, 1080p footage starts to look soft; see our guide on screen recording best practices for resolution tips.
5. Use Smooth, Short Transitions
Around 0.3–0.7 seconds feels natural. Instant cuts are jarring; slow, two-second zooms feel sluggish.
How to Add Zoom-and-Pan in ActivePresenter
We’ll use ActivePresenter from Atomi Systems, which offers manual zoom-n-pan in every edition and automatic zoom in Standard and Pro. Menu names may vary slightly between versions.
Manual Zoom (All Editions, Including Free)
- Record your screen with the video recording mode and open the project.
- Move the playhead to just before the action you want to show.
- Insert a Zoom-n-Pan effect and drag the frame around the area to enlarge.
- Set the transition duration, then add another Zoom-n-Pan back to the full view when the action ends.
- Preview and adjust timings so zooms land slightly before clicks.
Automatic Zoom (Standard and Pro)
Automatic zoom analyzes your recording and adds zooms around clicks, typing and scrolling. Run it on the whole clip, then delete zooms where nothing important happens and merge ones that are close together. Combined with the smart cursor, which smooths jittery pointer movement, this gets a 10-minute tutorial to a watchable state very quickly. The honest caveat: auto zoom doesn’t know what matters to your learner, so a quick manual review is still needed.
Check the current price: ActivePresenter Standard · ActivePresenter Pro. (Affiliate links.)
Other Tools With Zoom Effects
- Camtasia: zoom-n-pan and animations on a subscription; see our Camtasia 2026 review.
- General video editors (Shotcut, DaVinci Resolve): zoom by keyframing scale and position. Powerful, but slow for screencasts because nothing is tied to clicks.
- OBS Studio: records only; you’d add zooms in a separate editor.
Frequently Asked Questions
Quick answers to common questions about zooming in screencasts.
Can I Zoom While Recording Instead of in Editing?
You can use the operating system’s magnifier, but it’s hard to control smoothly and can’t be undone. Zooming in editing gives cleaner results.
Does Zooming Reduce Video Quality?
Zooming enlarges existing pixels, so heavy zooms on 1080p footage look softer. Record at a higher resolution if you expect to zoom a lot.
Is Automatic Zoom Available in ActivePresenter Free?
You can try it in Free, but exports that use it carry a watermark. Manual zoom-n-pan is watermark-free in Free.
Final Recommendation
Zooming is the single cheapest upgrade to a screencast’s clarity. Learn it manually in the free screen recorder edition of ActivePresenter, and when you’re producing tutorials regularly, Standard’s automatic zoom and smart cursor turn an hour of keyframing into a few minutes of review.
👉 Ready to make every button readable? Get ActivePresenter Standard for automatic zoom and commercial use, or ActivePresenter Pro if you also need interactive simulations. (Affiliate links: we may earn a commission at no extra cost to you.)


Leave a Reply