Disclosure: eLearning Supporter may earn a commission when you buy through some links on this page. It does not change how we evaluate products. Details were checked on November 4, 2026 and can change between releases.
The Short Answer
To learn how to make a screencast that people watch to the end, think in six stages: plan one outcome, write a short script, prepare your screen and microphone, record in small chunks, edit out the friction, then caption and export. The software matters less than the workflow, but a tool that records and edits in one place saves a lot of round-tripping.
This guide walks through each stage with the settings and habits that make the biggest difference for tutorials, onboarding videos and course lessons.
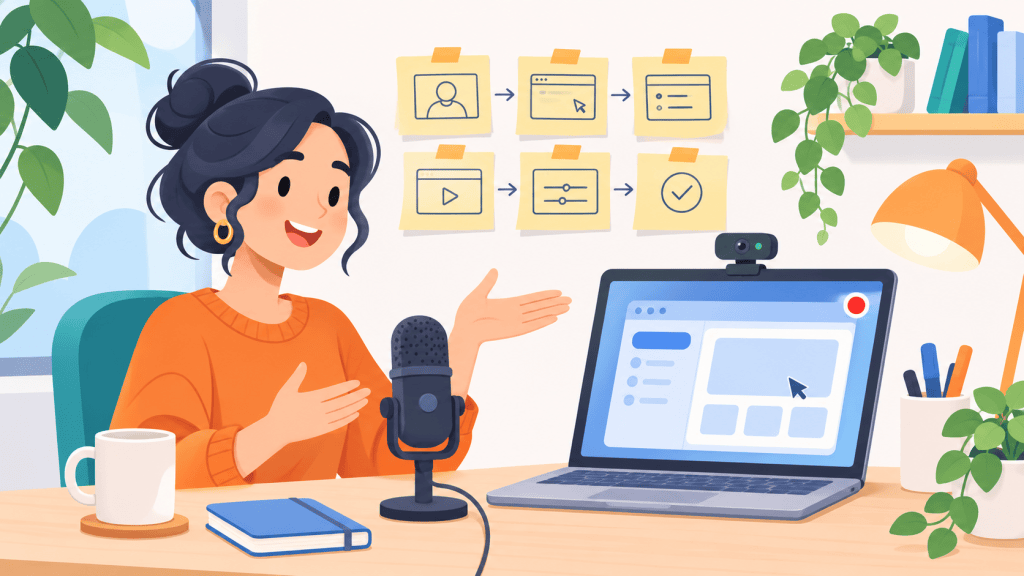
What a Good Screencast Needs (Quick Checklist)
| Stage | Goal | Common mistake |
|---|---|---|
| Plan | One task, one outcome | Covering five features in one video |
| Script | Clear, speakable steps | Improvising and rambling |
| Setup | Clean desktop, good mic | Notifications popping up mid-take |
| Record | Short, redo-able takes | One 30-minute take you can’t fix |
| Edit | Remove pauses, guide the eye | Leaving dead air and tiny text |
| Publish | Captions, right export settings | No captions, blurry upload |
Step 1: Pick One Outcome for the Video
The fastest way to lose viewers is to make a screencast about “the whole app.” Write down the single thing a viewer should be able to do after watching, such as “export a report to PDF” or “set up two-factor sign-in.” If you need more than one outcome, plan a short series instead. Short, task-focused videos are also easier to update when the interface changes.
Step 2: Write a Short, Speakable Script
You don’t need a word-for-word screenplay, but you do need an order of clicks and the sentence you’ll say at each one. A simple structure works for almost every tutorial:
- Hook (5–10 seconds): what the viewer will be able to do.
- Context (optional): where in the app we are and what’s needed first.
- Steps: one action per sentence, in the order you’ll click.
- Result: show the finished outcome on screen.
- Next step: one sentence pointing to the next video or resource.
Read the script out loud once before recording. Any sentence you stumble on will also trip you up on the take, so rewrite it shorter.
Step 3: Prepare Your Screen and Audio
Ten minutes of preparation saves an hour of editing. Start with what viewers will see, then fix what they will hear.
Clean Up the Screen
- Turn on Do Not Disturb (Windows Focus or macOS Focus) so chat and email pop-ups don’t appear.
- Close unrelated tabs and hide desktop icons and bookmarks that reveal private information.
- Use a demo account with realistic but fake data.
- Resize the app window to a standard 16:9 size (for example 1920×1080) so the export doesn’t need awkward scaling.
Get the Audio Right First
Viewers forgive average video far more easily than bad audio. A USB microphone placed a hand’s width from your mouth, in a room with soft furnishings, beats an expensive mic across a bare room. Record ten seconds of test audio and listen with headphones before every session. If you want a deeper walkthrough, see our guide to screen recording best practices.
Step 4: Choose a Screencast Tool That Records and Edits
You can record with a free capture tool and edit somewhere else, but for tutorials it’s simpler to use one app that captures the screen, webcam, microphone and system audio, then lets you edit on a timeline. Options we see most often in training teams:
| Tool | Pricing model | Best fit |
|---|---|---|
| ActivePresenter (Free / Standard) | Free for non-commercial use; Standard is a one-time $249 license | Tutorials with zooms, captions and callouts, without a subscription |
| Camtasia | Annual subscription (Essentials about $179.88/year) | Teams already in the TechSmith ecosystem |
| OBS Studio | Free, open source | Live streaming and raw capture; needs a separate editor |
| Loom | Freemium, per-user subscription | Quick async messages rather than polished tutorials |
ActivePresenter, made by Atomi Systems, is the tool we use for the walkthrough below because the Free edition covers recording and basic editing, and the paid Standard edition adds the polishing tools (automatic zoom, blur, AI noise removal, text-to-speech) that tutorial makers usually want. Its main limitation: the Free edition is for non-commercial use, so client or company videos need a paid license.
Check the current price: ActivePresenter Standard · ActivePresenter Pro. (Affiliate links.)
Step 5: Record in Short Takes
- Open your recorder and choose Record Video (in ActivePresenter, this is the full-motion video mode rather than the simulation mode).
- Select the recording area: the app window or a fixed 1920×1080 region.
- Turn on the microphone, and turn on system audio only if the app makes sounds viewers need to hear.
- Add the webcam if a face helps (onboarding and course intros), skip it for dense software walkthroughs.
- Record one script section at a time. When you make a mistake, pause for two seconds and repeat the sentence; the silence makes the cut easy to find later.
Move the mouse slowly and deliberately. Fast, circling cursor movements are the number-one reason tutorials feel hard to follow.
Step 6: Edit for Clarity, Not for Flash
Editing a screencast is mostly subtraction. Work through the timeline in this order:
- Cut mistakes, long pauses and loading screens. Speed up unavoidable waits.
- Zoom in on small buttons and menus so they’re readable on a phone. ActivePresenter has manual zoom-n-pan in every edition and automatic zoom on clicks and typing in Standard and Pro.
- Highlight with a spotlight, arrow or short text callout where the viewer must look.
- Blur emails, names and account numbers that slipped into the recording.
- Clean the audio: normalize volume and reduce background hum.
Our separate tutorial shows how to edit screen recordings for free if you want the editing stage in more detail.
Step 7: Add Captions and Export
Captions help viewers who watch on mute, non-native speakers and anyone who needs accessible content. Add them after the edit is locked so timings don’t drift. Then export an MP4 (H.264) at the same resolution you recorded. For YouTube or an LMS, 1080p at 30 fps is a safe default for software tutorials.
Frequently Asked Questions
Quick answers to the questions new screencasters ask most often.
How Long Should a Screencast Be?
For a single task, aim for two to six minutes. If a video runs past ten minutes, it’s usually two videos.
Can I Make a Screencast for Free?
Yes. Windows and macOS include basic recorders, and ActivePresenter Free records and edits without a watermark as long as you use only Free-edition features and the video is non-commercial.
Should I Show My Webcam in a Tutorial?
Use it for intros, onboarding and courses where a human presence builds trust. For detailed software steps, a webcam overlay often covers important parts of the interface.
What Resolution Should I Record a Screencast In?
Record at the resolution you plan to publish, typically 1920×1080. Recording a 4K screen and exporting at 1080p can make text look soft unless you zoom in on key areas.
Final Recommendation
A clear screencast comes from planning one outcome, scripting it, recording short takes and editing out everything that slows the viewer down. Start with the free tools you already have. When you begin making tutorials for work or clients and want zooms, blur, clean audio and captions in one app without a yearly subscription, ActivePresenter Standard is a practical next step.
👉 Ready to make your first polished screencast? Get ActivePresenter Standard for commercial video tutorials, or ActivePresenter Pro if you also need quizzes, simulations and SCORM. (Affiliate links: we may earn a commission at no extra cost to you.)


Leave a Reply