Screencasting video is an effective solution to show others how to use a software, or let them know what you are doing on your computer. A professional screencast video has to be in good quality, clear enough so that others can follow you easily.
In today’s article, I will guide you through how to make professional screencast videos whether you are on any Windows computer. The tool I am going to use is ActivePresenter, one of the most powerful all-in-one screencasting software for Windows and Mac now. For those of you who don’t know about ActivePresenter, please read this review first.
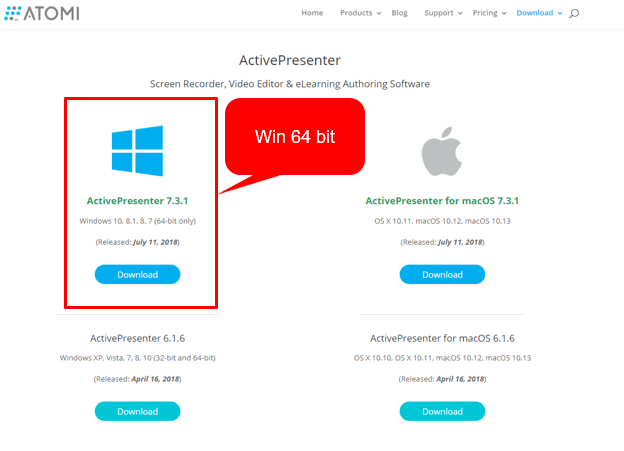
Step 1: Get ActivePresenter
You can either choose to go directly to Atomi System homepage to download ActivePresenter or click here to be redirected to the download page. When you are at the download page, choose Windows or Mac version. For Windows users, latest version of ActivePresenter only supports 64 bit. If you are on 32 bit, you can choose their older version.
Step 2: Clean your desktop
Before starting recording your screen, remember to clean you desktop so that you don’t happen to show any sensitive information to others. Although ActivePresenter allows you to blur special area on your video, it’s better to clean it first so that you don’t have to waste more time on such small detail.
Added to that, to avoid unexpected application pop-up during your recording, make sure that you turn off all the application notifications too.

Step 3: Launch ActivePresenter Recording Tool
In ActivePresenter, there are some ways to start a recording. Depending on what kind of screencast video quality you want to create, you can choose an appropriate way. The easiest way to start recording in ActivePresenter is to click on Record Video directly on the interface.

Step 4: Customize Pre-recording settings
Before you hit the red button to start screencasting, spend some time double check all the settings if they are according to your requirements first. Here are some of the most important notices about ActivePresenter’s pre-recording settings:
- ActivePresenter allows you to record in 3 modes: full screen, customized resolution (maximum in 1080p) and locked application. Choosing what mode depending on your need. Normally, full screen mode is the most used mode.
- Using hotkeys to start, stop recording in ActivePresenter is possible. You can also customize these keys that most suite you.
- During the recording, you don’t need to annotate the on screen video because you can do it later in its built-in video editor.

Step 5: Turn Your Recorded Video Into Professional Screencast
Once you end the recording, ActivePresenter will direct you to its built-in screencast video editor where you have the possibility to transform your normal screen recording into stunning screencast video with dozens of annotation tools and various types of special effects and transitions. If you often watch professional tutorials on YouTube, you will often see zoom and pan effect, blur an area or the video or an animated text jumping on the screen etc. All these stuff can be created by ActivePresenter. Take a look at this example:
Finally, don’t forget to render the whole project into output format that you want to. ActivePresenter lets you create video formats in AVI, MKV, WebM or MOV for uploading to YouTube or sharing with your partners. It can also export the whole project into HTML5 for uploading to specific LMS too.
Take away tricks
- Professional screencast videos are often not too long. Don’t try to mess things up with very long, boring videos.
- Record video and narration separately can save your time and easier to polish screencast videos later.
- Video rendering speed depends very much on your hardware specs. If possible, use a high-end Desktop to make the record.
Bottom line
Making a screencast video is really simple. Making a professional screencast video is a little bit more difficult. However, I am sure you can manage to do it with a powerful tool like ActivePresenter. If you have any further question about this tool, don’t hesitate to contact us any time. Don’t forget to follow us to receive more valuable post notifications in the future!
Good luck!

Leave a comment