Convert text-to-speech. Learn how to convert texts to speech for free here. This is a great feature in ActivePresenter – Free screen recorder & Screencast software for Windows and Mac.
Text to speech is an ideal way to help disable people who can’t read the document on their computer’s screen for some reasons. It is also a necessary option when you are not familiar with expressing your idea by voice-over.
There are many Text To Speech software you can find on the internet these days such as: Ivona, NaturialReader, Zabaware and many more. However, all of them has the same expensive subscription deals. That’s why you’ll need to find a free text to speech converter like ActivePresenter.
In today post, I will show you how to convert text to speech with ActivePresenter – one of the best free screen recorders in 2018 I’ve reviewed.
If you have not heard about ActivePresenter, read our full review here!
Download ActivePresenter to your computer here!
How to convert Text To Speech?
After download and install ActivePresenter, you’ll need to open the program and create a new project to start using Text-to-speech feature. See the interface below.

You can choose New Project or New Capture (if you want to record a video from your computer). Once you finished recorded video, the program will drive you to its video editor. Here you can use Text-to-speech feature from the Annotation tools.

It is quite simple to convert Text-to-speech in ActivePresenter with a few clicks. Remember that ActivePresenter has only Microsoft David and Zira voices only. If you need other natural voices, you can purchase voices from other software and install it on your computer. ActivePresenter will automatically recognize it and add to the property.
Here’s the detail guide on how to use Text-To-Speech with ActivePresenter.
Converting Text to a Voice-over Audio
Once you finish typing your text into the shape, that text also appears in the Text To Speech box of the Audio section in the Properties pane. From this section, do the next steps:
Step 1: Click Generate (1) to convert text into a voice output immediately.
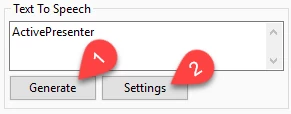
Step 2 (Optional): Click Settings (2) to open the Text To Speech dialog.
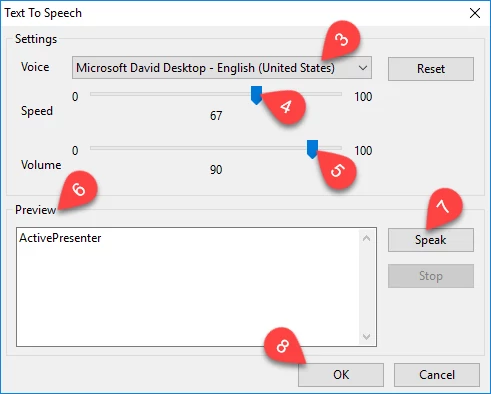
- Access Voice (3) to select your wanted voice.
- Move the sliders along the bars to change speed (4) and volume (5) of the voice-over audio file.
- Retype your text in the Preview box (6) if you want, or click Speak (7) to listen audio until you feel satisfied. Remember that when you edit the text, click OK (8) and click Generate (1) again for the changes to be applied.
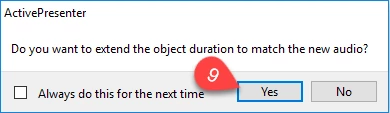
If the time duration of new audio is longer than that of the object, a pop-up appears on the screen. Select Yes (9) if you want to continue.
Adjusting a Voice-over Audio
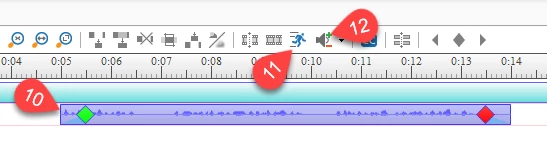
When you convert text placed in an object into speech, the time bar of that object is replaced by a waveform bar (10). This also means that you can change the playback speed (11) and adjust the volume of the audio (12) in the same way you edit an audio track.
Please check out our tutorials Changing Audio Volume and Adjusting Video Speed to get detailed information about how to use these tools in ActivePresenter.
Deleting a Voice-over Audio
If you want to remove a voice-over audio without affecting the original object, do the following steps:
Step 1: Click the waveform bar of the voice-over audio to select it.
Step 2: Click the red icon (13) next to the folder icon in the Audio section of the Properties pane.
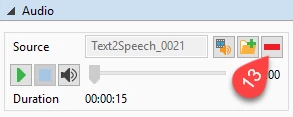
Do not press the Delete key on the keyboard because in that way, you will remove both the audio and the object.
This tutorial on YouTube is another way you can convert Text-to-speech!
Bottom line
That’s super-easy, right? I hope this tutorial can help you in creating nice tutorial video, product demos or training courses. If you meet any difficulty in using this feature in ActivePresenter, don’t hesitate to contact me. Remember to follow us to receive more valuable post notifications in the future.
Good luck!

